That sound coming from your bathroom isn’t background noise you should ignore. It’s your toilet running—constantly refilling, constantly wasting water, and constantly adding to your monthly bill. A running toilet can burn through 200 gallons every single day, which means you’re paying for water you’re not even using.
The good news? Most running toilet problems come down to a handful of parts that you can check and fix yourself in under an hour. You don’t need to be a plumber to handle the basics. But you do need to know what you’re looking at, what’s worth fixing on your own, and when the issue points to something bigger. Let’s walk through exactly how to fix a running toilet—and when to stop and call someone who knows Brevard County’s unique plumbing challenges.
Running Toilet Repair: What’s Actually Happening Inside Your Tank
Before you start pulling parts out of your toilet tank, it helps to understand what’s supposed to happen when everything works right. When you flush, a chain lifts a rubber flapper at the bottom of the tank. Water rushes into the bowl. The flapper drops back down and seals the opening. Meanwhile, the fill valve turns on and refills the tank until a float signals it to stop.
When any part of that system fails, water keeps trickling from the tank into the bowl. Your fill valve keeps kicking on to replace it. That’s the running sound you hear. It’s not complicated, but it wastes a staggering amount of water if you let it go.
The EPA estimates that 10% of homes have leaks wasting around 90 gallons daily. A toilet with a bad flapper can hit 200 gallons a day. Over a month, that’s enough wasted water to fill a small swimming pool—and you’re paying for every drop.
Fix Leaking Toilet: Start with the Flapper
The flapper is the number one culprit in about 80% of running toilet cases. It’s that rubber or silicone disc at the bottom of your tank that’s supposed to seal the flush valve opening. Over time, it warps. It cracks. Mineral deposits build up around the edges. And when it doesn’t seal completely, water leaks into the bowl non-stop.
Here’s how to check it. Lift the tank lid and set it somewhere safe—porcelain cracks easily. Look at the flapper while the tank fills. If it’s discolored, slimy, or visibly warped, that’s your problem. You can also do a dye test: drop a few drops of food coloring into the tank, wait 15 minutes without flushing, and check the bowl. If color shows up, your flapper’s leaking.
Replacing a flapper is one of the easiest fixes in plumbing. Turn off the water supply valve behind your toilet. Flush to drain the tank. Unhook the old flapper from the overflow tube or flush valve pegs and disconnect the chain. Take the old one to a hardware store to match the size—most are either 2-inch or 3-inch. Install the new one, reattach the chain with a little slack, turn the water back on, and test.
In Brevard County, hard water and coastal humidity can shorten a flapper’s life. Mineral-heavy water leaves deposits that prevent a good seal. If you’re replacing flappers more often than every few years, that’s a sign your water quality might need attention. But for now, a $5 flapper and 10 minutes of your time can stop hundreds of gallons of daily waste.
Leaking Toilet Repair: Adjusting the Chain and Float
If your flapper looks fine but your toilet still runs, check the chain. The chain connects your flush handle to the flapper, and the length matters more than you’d think. Too short, and the flapper can’t close all the way. Too long, and it tangles or gets caught under the flapper, preventing a seal.
When the flapper is fully closed, you should have about half an inch of slack in the chain—just enough that it’s not pulling on the flapper, but not so much that it’s dragging or looping. Adjust it by moving the clip on the flush lever arm to a different chain link. Flush a few times and watch how the flapper moves. It should lift cleanly when you push the handle and drop straight down to seal when you release.
Next, check your float. This is the ball or cup that rides on the water surface and tells the fill valve when to stop filling. If the float is set too high, water flows into the overflow tube continuously. You’ll hear it running and see a small stream going down the tube in the center of your tank.
Most modern fill valves have an adjustment screw or clip. Turn the screw clockwise to lower the water level, or slide the float cup down the valve shaft. The water should stop about an inch below the top of the overflow tube. Older toilets with a ball-and-arm float require bending the metal arm gently downward. Flush and watch the tank refill. Adjust until the water stops at the right level and the running stops.
These adjustments take five minutes and cost nothing. But if you’re in an older Brevard County home with corroded hardware or a fill valve that’s seen decades of mineral buildup, the parts might not adjust smoothly anymore. That’s when replacement becomes the better option.
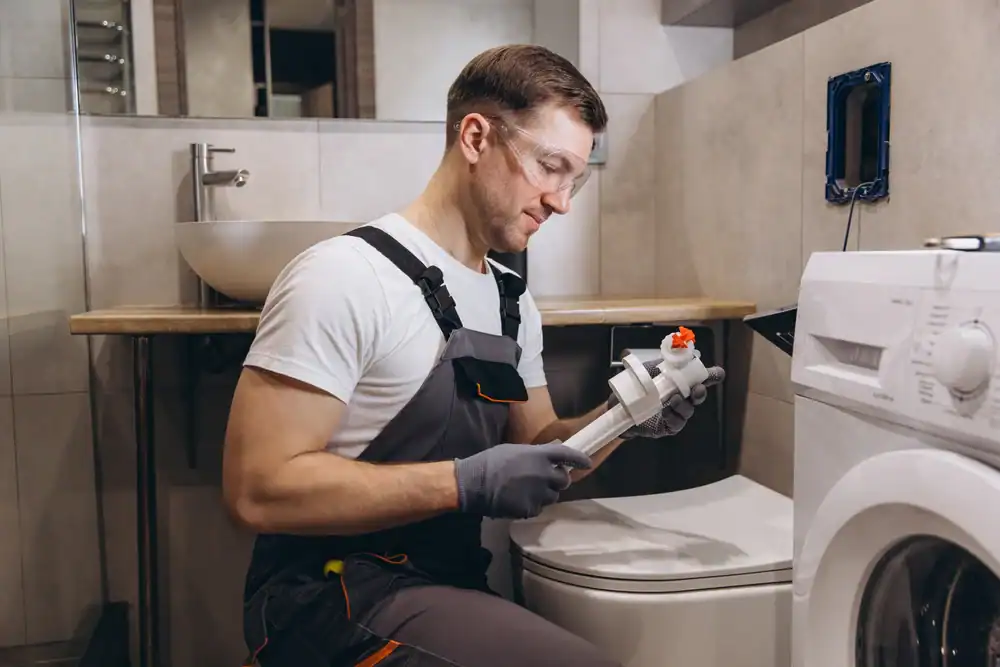
Running Toilet Fix: When to Replace the Fill Valve
If you’ve replaced the flapper and adjusted the float but your toilet still won’t stop running, the fill valve itself is likely worn out. Fill valves typically last four to five years, but hard water and constant use can cut that short. When internal seals break down, the valve either won’t shut off or it cycles on and off randomly—what some people call a “phantom flush.”
You’ll know it’s the fill valve if you hear hissing from the tank, if the valve vibrates or makes noise even when the water level is correct, or if adjusting the float does nothing. Replacing a fill valve is more involved than swapping a flapper, but it’s still a DIY-friendly job if you’re comfortable with basic tools.
How to Replace a Toilet Fill Valve
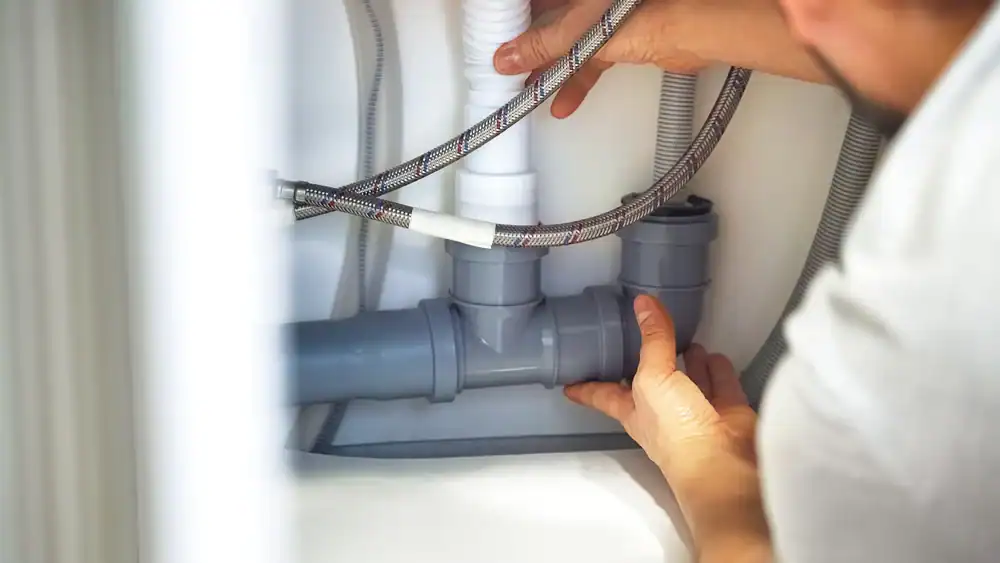
Start by turning off the water supply at the valve behind the toilet. Flush to empty the tank, then use a sponge or towel to soak up any remaining water. Disconnect the water supply line from the bottom of the tank using adjustable pliers—have a bucket handy because a little water will spill.
Inside the tank, you’ll see a large plastic nut holding the fill valve in place. Unscrew it by hand or with pliers, then lift the old valve straight out. Take it with you to the hardware store. A universal fill valve like the Fluidmaster 400A works with most toilets and costs $8 to $15.
Install the new valve by threading it through the hole in the bottom of the tank. Tighten the locknut from underneath—hand-tight plus a quarter turn with pliers is enough. Don’t overtighten or you’ll crack the porcelain. Adjust the valve height so the top of the overflow tube sits about an inch below the critical fill line marked on the valve. Reconnect the water supply line and the small refill tube that runs to the overflow tube.
Turn the water back on slowly and let the tank fill. Watch for leaks at the connection points. Adjust the float so the water stops at the right level. Flush a few times to make sure everything works smoothly.
In coastal areas like Brevard County, salt air and humidity can corrode the metal components on older fill valves faster than you’d see inland. If your valve looks rusty or the locknut won’t budge, don’t force it—you risk cracking the tank. That’s when calling a plumber makes sense, especially if you’re dealing with an older toilet where parts might not come apart cleanly.
When DIY Running Toilet Repair Isn’t Enough
Most running toilets come down to a flapper, chain, float, or fill valve. But sometimes the issue runs deeper. If you’ve replaced parts and the toilet still leaks, you might be dealing with a cracked flush valve seat, a damaged overflow tube, or even a hairline crack in the tank itself.
Cracks are more common in older toilets, especially in Florida where temperature swings and mineral buildup stress porcelain over time. If you see water pooling around the base of the toilet, that’s not a running toilet—that’s a leaking seal, and it requires pulling the toilet to replace the wax ring. If the tank is cracked, you’re looking at a full replacement.
Corrosion is another red flag. Brevard County’s coastal environment accelerates rust on metal parts. If you see heavy corrosion on the flush valve, bolts, or supply line connections, those parts are likely failing in ways that a simple flapper swap won’t fix. Corroded bolts can snap when you try to tighten them. Corroded valves can crack under pressure.
Here’s the other thing DIY guides don’t always mention: sometimes a running toilet is the first sign of bigger plumbing problems. Homes built before 1975—and there are plenty in Brevard County—often have cast iron pipes that corrode from the inside out. If your toilet issues coincide with slow drains, low water pressure, or strange smells, you’re not just dealing with a toilet. You’re dealing with aging infrastructure that needs a professional eye.
If you’ve spent an hour troubleshooting and you’re still hearing that running water, it’s time to stop. You’re not saving money by replacing parts that aren’t the problem. You’re not protecting your home by ignoring signs of structural plumbing issues. And if you crack the tank or strip a bolt trying to force a repair, you’ve just turned a $15 fix into a $300 replacement.
Stop Wasting Water and Money on Your Running Toilet
A running toilet isn’t just annoying. It’s expensive, wasteful, and often a sign that your plumbing needs attention. Most of the time, you can fix it yourself in less than an hour with a $10 part and a little patience. Check the flapper first. Adjust the chain and float. Replace the fill valve if needed. Those three steps solve the vast majority of running toilet problems.
But if you’ve done all that and the problem persists, or if you’re seeing signs of corrosion, cracks, or bigger plumbing issues, don’t keep throwing parts at it. In Brevard County, where coastal conditions accelerate wear on plumbing systems, it pays to know when to call someone who understands how salt air, hard water, and aging infrastructure affect your home.
That’s where we come in. With over 45 years of plumbing experience and a deep understanding of Brevard County’s unique challenges, we handle everything from simple repairs to full bathroom remodels when a toilet issue reveals bigger problems. If your DIY fix didn’t work, or if you’d rather have it done right the first time, reach out to us and stop flushing money down the drain.